Halftone dots cont’d
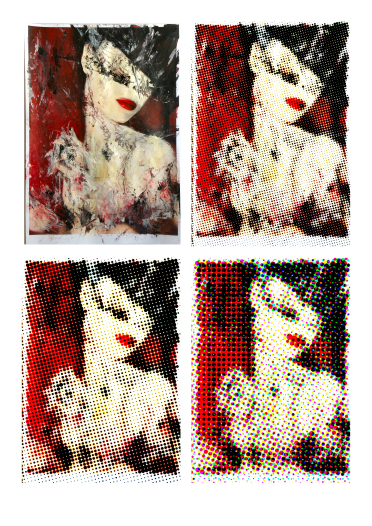
Images edited in PagePlus showing changes to original image with increasing dot size
I have continued experimenting with halftone dots. While resizing an image in Serif PagePlus I looked at the image editing options and found a filter for changing the image to halftone dots. The dots were circular in shape even at larger sizes (see above), unlike converting to halftone in Photoshop where the dots became distorted.
At this stage, I am interested in the process of partially breaking down images. I prepared more images in Photoshop and got multiple laser copies so that I could have repeats which I transferred using acrylic medium as before (applying patchily so that parts would rub away when the backing paper was removed).
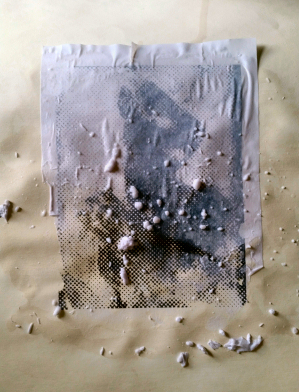
Backing paper being soaked and removed

Inverted image – Photoshop halftone – acrylic medium transfer

Layers of green/gold acrylic washes added
I added several layers of green gold acrylic wash over the whole surface. When it was dry I added red to the lips, but I was not happy with the result so I’m going to try reworking those areas.
I have overpainted the lips with an opaque magenta, which I think is better and I may add some patches of gold leaf. I am also considering ripping up the piece and rearranging the fragments.

Acrylic medium transfers
I found this information on transferring photocopies some years ago, probably some of the earliest info online about this process
