Skills 3 Print: Screen Printing – 4 Colour CMYK week 3
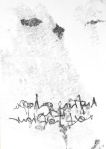
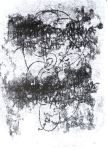
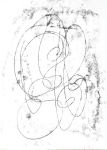
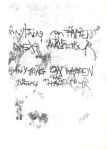
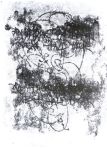
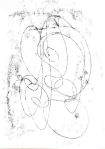
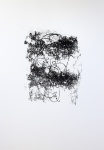
The brief for this week was to add another element to our four colour print. I decided to add something handwritten so decided to make monotype prints which would give a thicker line with interesting textures where the paper picked up ink. A few of the prints picked up too much ink so I added scribbled drawing to them.
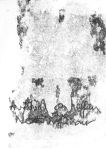
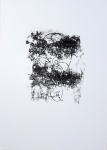
Monotype prints of handwritten text:

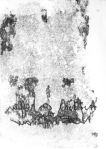
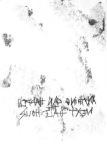
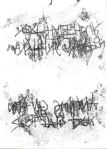
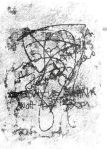
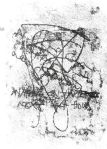
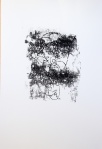
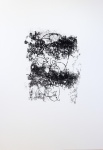
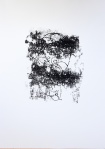
As Monotype writing shows in reverse, I flipped images to see what they would look like the correct way round and chose the one I wanted to use. Some of the others could be used in other work, either as screen-prints or photocopy transfers, and the resized according to what was needed.
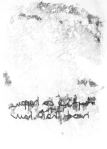
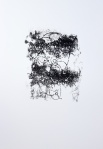
Monotype prints reversed digitally:


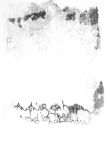

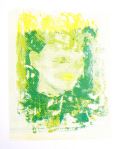
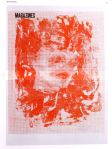
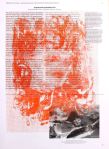
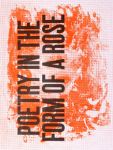
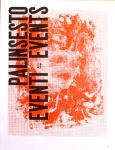
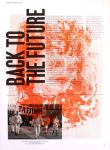
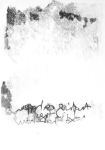
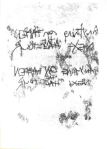
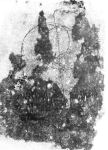
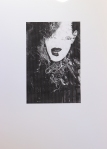
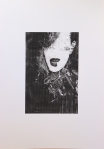
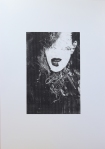
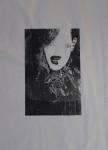
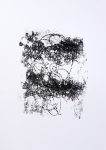
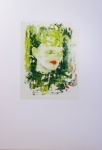
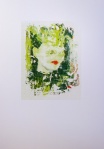
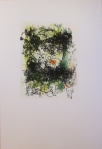
Screen-prints with text added:

I was pleased to be adding another element to my prints as some layers of the print were partially missing along the bottom edge. For the layer of text I mixed cyan and yellow for a spot colour that would match the colour and tones I had already used in the print. We had a brief pop-up exhibition and group crit for our finished prints.

Pop-up exhibition: Two of my prints displayed with another student’s work
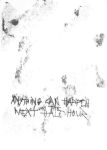
Single colour screen-prints based on collage:
As the text I was using for my prints was not very large, I exposed another two images on the screen. Initially I printed a multiple on one sheet of paper, but had a problem with ink being picked up by the acetate (which I was using for registering the prints) and it smudged onto the border of the paper on he left hand side.
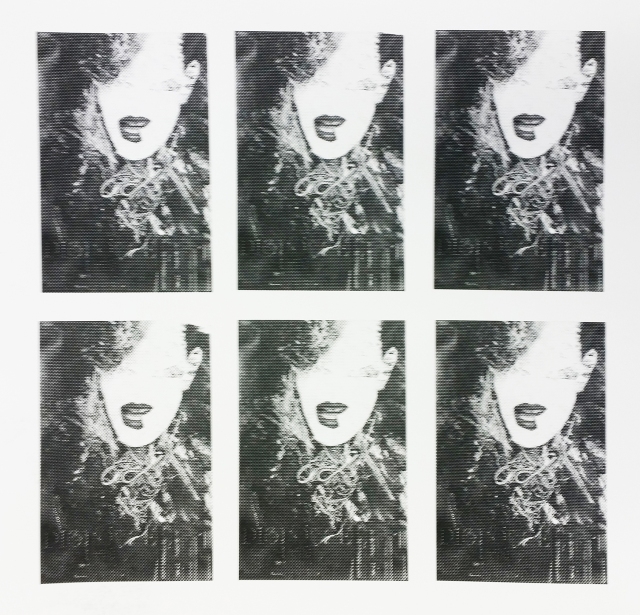
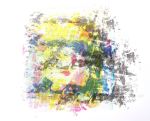
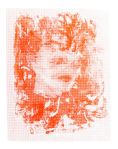
I made an edition of prints based on another of my collages using a large halftone dot and printing in a single colour. I also overprinted one of my CMYK prints with this image.


Experimental print
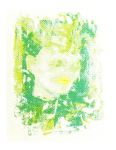
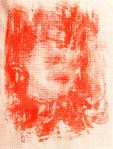
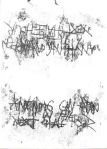
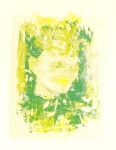
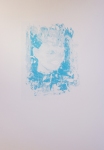
Single colour prints based on monotype:

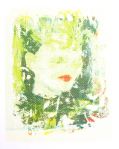
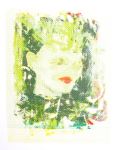
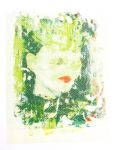
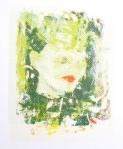
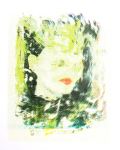
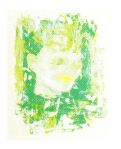
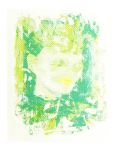
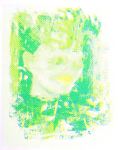
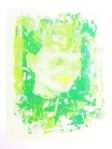
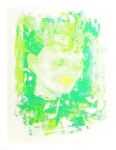
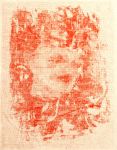
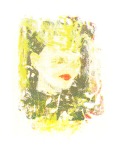
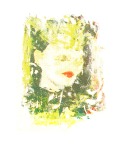
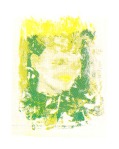
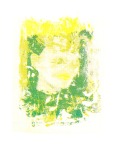
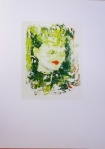
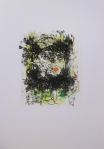
Reprinting CMYK project without text:
I made a few more CMYK prints ensuring that I did not miss any of the edges. One of the prints shows the cyan layer and another the cyan and magenta. The rest are cyan, magenta and yellow (without the black). Two are overprinted with a different image in black.
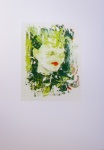
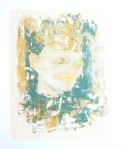
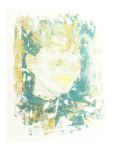
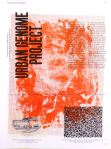
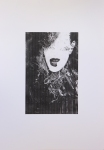
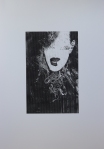
Mimmo Rotella
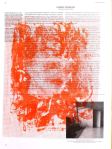
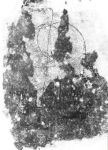
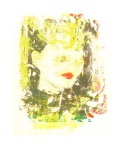
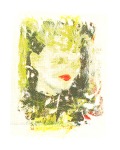
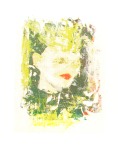
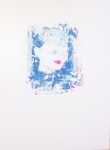
Regarding the fragmentation and erosion of images, I have been looking at the décollages of Mimmo Rotella, which are comprised of layers of torn posters. I particularly associate these with my image transfers in which areas of the photocopied paper transfer has become detached from the fabric support. Instead of being torn, ripped, or cut, the paper has been removed through abrasion where it was not firmly attached.
http://poulwebb.blogspot.co.uk/2011/04/mimmo-rotella-decollages-part-1.html

Mimmo Rotella, Marilyn, 1963
I have been thinking about how the materials and processes used add meaning to an artwork and I will be considering this further. In this case the physical damage evokes the transitory and impermanent.